


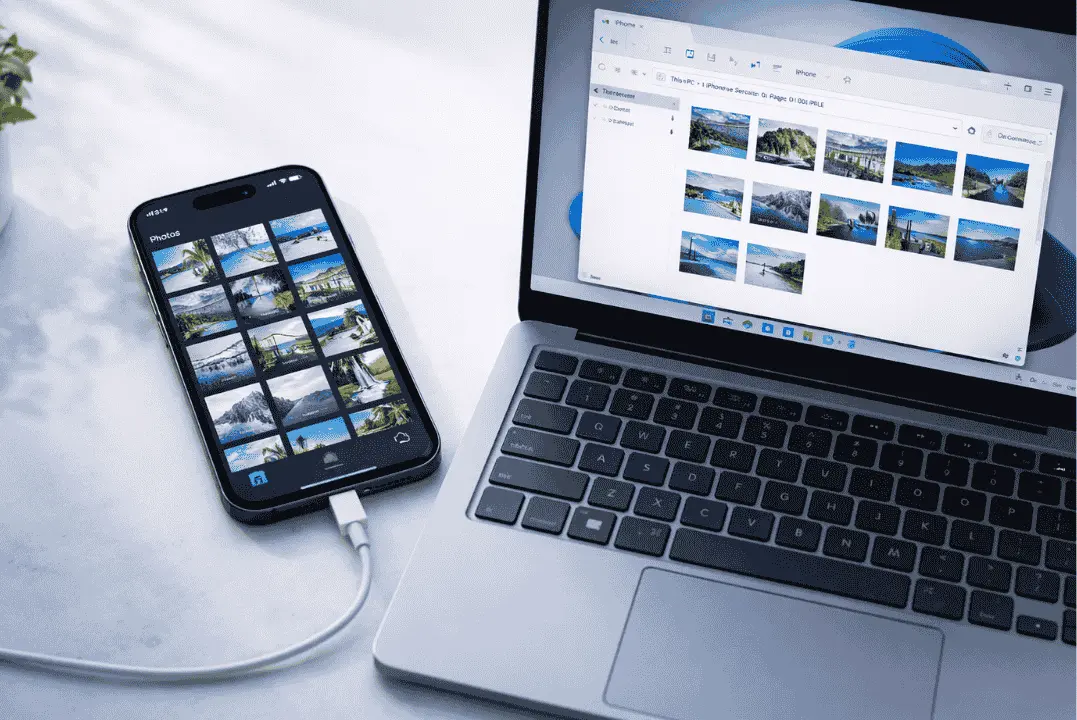
How to transfer photos from iPhone to PC is easier than it sounds. Whether you want to free up iPhone storage, save a backup of your pictures, or move photos to a Windows computer, you can do it with a USB cable, iCloud, Google Photos, or a dedicated transfer app.
In this guide, you’ll learn five simple, proven ways to transfer photos from iPhone to PC on Windows 10 or Windows 11. Choose the method that best fits your setup, whether you want a fast wired transfer or automatic wireless syncing.
What You Need Before You Start

A smooth photo transfer starts with a few quick checks. Before you import photos from your iPhone to your PC, take 30 seconds to check these things:
- ✅ A working USB cable — Lightning (iPhone 14 and earlier) or USB-C (iPhone 15 and later). A charge-only cable won’t work; you need one rated for data transfer.
- ✅ Your iPhone is unlocked with its passcode when you plug it in, and the Photos app is not actively syncing or editing in the background.
- ✅ You tap “Trust” on your iPhone when the prompt appears.
- ✅ Windows is up to date (especially for Windows 11 users).
- ✅ Enough free storage on your PC for the pictures and videos you’re about to move — a typical camera roll of 5,000 photos can take up 15–25 GB.
- ✅ Know how to select all photos — most transfer methods let you press Ctrl+A (Windows) or tap Select All inside the Photos app to grab your entire camera roll in one action instead of clicking each picture individually.
Getting these basics right before you start your photo transfer saves you from restarting halfway through a large batch of pictures and videos.
💡 Quick Tip: If your iPhone photos are stored in iCloud and not physically on your device, download them first. Go to Settings > [Your Name] > iCloud > Photos, then enable “Download and Keep Originals.”
Method 1: How to Transfer Photos from iPhone to PC via USB Cable

This is the quickest way to transfer iPhone photos to PC — no apps, no Wi-Fi needed. Just a USB cable and 2 minutes of your time.
Steps:
- Plug your iPhone into your PC using your USB cable.
- Unlock your iPhone and tap “Trust” when asked “Trust This Computer?”
- On your PC, open File Explorer (press
Windows + E). - Under “This PC,” find your iPhone listed as a portable device.
- Go to:
iPhone > Internal Storage > DCIM - Open the folder(s) inside DCIM — your photos are here.
- Select the photos you want (press Ctrl+A to select all), then copy and paste them to any folder on your PC.
⚠️ Note: Photos may appear in multiple numbered folders inside DCIM (like 100APPLE, 101APPLE). Check all of them to find all your pictures.
This method works great for:
- Transferring a large number of photos quickly
- Users who prefer not to use cloud storage
- iPhone photos to PC via USB with no internet required
According to Apple Support, your iPhone appears as a connected device on Windows once you have the Apple Devices app installed, giving you direct access to your Camera Roll through File Explorer.
Method 2: Import Photos from iPhone to PC Using the Windows Photos App

The Windows Photos app is a built-in tool that makes it easy to import photos from iPhone to PC even if you’re not tech-savvy.
Steps:
- Connect your iPhone to your PC with a USB cable.
- Unlock your iPhone and tap “Trust.”
- Open the Photos app on Windows (search for it in the Start Menu).
- Click “Import” in the top-right corner.
- Select “From a USB device.”
- Windows will scan your iPhone and show all available photos.
- Choose the photos you want, tap Select All to grab everything, or pick individually, then click “Import Selected.”
💡 Pro Tip: You can also set the Photos app to automatically import photos every time you connect your iPhone. Look for the auto-import option inside the app settings.
According to Microsoft Support, Windows 10 and 11 both support importing photos directly from iPhones using the built-in Photos app — no extra software needed.
This method is ideal for:
- First-time users who want a guided experience
- Transfer iPhone photos to Windows 10 and Windows 11 with a simple interface
- Automatically organizing photos by date
Method 3: Transfer iPhone Photos to PC Automatically With iCloud for Windows

If you use iCloud Photos, this method lets you download iPhone photos to your PC wirelessly — no cable needed. Apple redesigned the iCloud for Windows app in 2026, so it now syncs continuously with the Windows 11 Photos app instead of a separate folder-only view.
Steps:
- On your iPhone, go to Settings > [Your Name] > iCloud > Photos and turn on iCloud Photos.
- On your PC, download and install Apple Devices and iCloud from the Microsoft Store (Apple’s updated official guidance replaces the older standalone iCloud installer).
- Sign in with your Apple ID.
- Enable “Photos” inside iCloud for Windows.
- Open the Photos app on Windows — your synced iCloud library now appears there directly, alongside the classic iCloud Photos folder in File Explorer.
⚠️ Important: iCloud gives you 5 GB of free storage. If your photo library is large, you may need an iCloud+ plan ($0.99/month for 50 GB). Not ready to pay? Check our guide to fixing iCloud Storage Full for 10 free ways to make room first.
Best for:
- Users who want automatic wireless photo syncing
- People who shoot photos regularly and don’t want to plug in a cable
- iCloud photos download to PC for easy access anytime
Method 4: Google Photos (Best Free Wireless Option)

Don’t want to use iCloud? Google Photos is a great free alternative to move photos from iPhone to laptop or PC wirelessly — and it gives you 15 GB of free storage.
Steps:
- Download Google Photos from the App Store on your iPhone.
- Sign in with your Google account.
- Enable “Backup” inside the app settings.
- Wait for your photos to fully back up.
- On your PC, open a browser and go to photos.google.com.
- Sign in with the same Google account.
- Select your photos (or tap Select All) and click the three-dot menu > Download.
💡 Note: Google Photos compresses photos slightly in the free tier (“Storage Saver” mode). If you want full original quality, you’ll need extra Google One storage.
Perfect for:
- Users who want a free wireless option to upload photos from iPhone to PC
- People who already use Google services
- Cross-platform users (Android and iPhone)
Method 5: Third-Party Apps (Best for Advanced Users)

If you need more control — like transferring photos without iCloud, organizing by albums, or doing bulk exports — third-party apps are worth it.
Top options:
| App | Free Version | Best For |
|---|---|---|
| iMazing | ✅ (limited) | Full iPhone backup + photo export |
| CopyTrans Photo | ✅ (100 photos) | Easy drag-and-drop transfer |
| WALTR PRO | ❌ Paid only | Fast bulk transfers |
According to CopyTrans, you can transfer iPhone photos to PC in several ways without iTunes — including direct USB access, iCloud, and dedicated transfer tools.
This method is ideal for:
- Users with large photo libraries (5,000+ photos) — if yours is full of near-duplicate shots, our guide to deleting duplicate photos on iPhone can trim it down before you export
- People who want to transfer photos by album — not just the Camera Roll
- HEIC photos transfer from iPhone to Windows with automatic conversion to JPEG
Tips for Faster Photo Transfers
Once you’ve picked a method, a few small adjustments can cut your transfer time significantly, especially with large libraries:
- Use a USB-C cable and a USB 3.0 port whenever possible. A USB 3.0 port (usually marked blue, or labeled “SS” for SuperSpeed) transfers files noticeably faster than an older USB 2.0 port — this matters most with Method 1 and Method 2.
- Switch your camera format to “Most Compatible” before shooting new photos. Go to Settings > Camera > Formats > Most Compatible. This saves new photos as standard JPEG instead of HEIC, so you skip the conversion step entirely on future transfers.
- Optimize iPhone storage first if your library is huge. If you have thousands of photos, transferring in one giant batch can cause the connection to stall. Import in batches of 500–1,000 photos at a time to avoid timeouts, especially over USB 2.0 or a weaker Wi-Fi connection.
- Transfer full-size copies, not compressed versions. In the Windows Photos app and File Explorer, you’re always getting full-size copies by default. But if you’re using Google Photos’ free tier, double-check you haven’t left it on “Storage Saver,” which slightly compresses images.
- Close other apps using your iPhone’s connection. Apple Devices background sync or other USB-connected apps running at the same time can slow down or interrupt a large transfer.
- Avoid unplugging mid-transfer. If a transfer stalls or times out, don’t just yank the cable — safely eject the device in File Explorer first, then reconnect and resume with a smaller batch.
⚠️ Warning: Interrupting a transfer while Windows is actively writing files can occasionally corrupt the picture currently being copied. If a transfer times out, restart it rather than assuming it will resume on its own.
Best Way to Transfer Photos from iPhone to PC: Which Method Is Right for You?
Here’s a quick comparison to help you decide:
| Method | Needs USB? | Needs Wi-Fi? | Free? | Speed | Best For |
|---|---|---|---|---|---|
| File Explorer | ✅ Yes | ❌ No | ✅ Yes | ⚡ Fastest | Large bulk transfers |
| Windows Photos App | ✅ Yes | ❌ No | ✅ Yes | ⚡ Fast | Beginners |
| iCloud for Windows | ❌ No | ✅ Yes | ⚠️ 5GB free | 🐢 Depends on internet | Auto-sync users |
| Google Photos | ❌ No | ✅ Yes | ✅ 15GB free | 🐢 Depends on internet | Wireless & free |
| Third-Party Apps | ✅ Yes | ❌ No | ⚠️ Limited | ⚡ Fast | Power users |
Common Problems When You Transfer Photos from iPhone to PC
Sometimes things don’t go smoothly. Here are the most common issues and how to fix them fast:
🔴 iPhone Not Showing Up in File Explorer
- Try a different USB cable — many cables are charge-only, not data-transfer cables.
- Make sure you tapped “Trust” on your iPhone when the trust prompt appeared on screen.
- Restart both your iPhone and PC, then reconnect the cable.
- Try a different USB port — some USB hubs and older ports don’t provide a reliable connection for transfer.
- Install (or reinstall) the Apple Devices app from the Microsoft Store — this is the current official driver source, replacing the old iTunes-based install.
🔴 Only Old Photos Show Up (Recent Ones Missing)
- This is one of the most reported issues in 2026: your newest photos are likely stored only in iCloud, not physically on your iPhone, due to storage optimization.
- Go to Settings > Photos and switch to “Download and Keep Originals,” or use Method 3 (iCloud for Windows) instead of a cable transfer.
🔴 Photos Appear as .HEIC and Won’t Open on Windows
- On your iPhone, go to Settings > Camera > Formats and switch to “Most Compatible” (JPEG).
- Or install the HEIC Image Extensions from the Microsoft Store to open HEIC files directly on Windows.
🔴 Photos Transfer But Look Blurry or Low Quality
- This usually happens with iCloud optimized storage. Go to Settings > Photos and select “Download and Keep Originals” before transferring.
🔴 “Select All” Isn’t Selecting Every Photo
- If Select All only grabs photos from the visible folder, check whether your library is split across multiple DCIM subfolders (100APPLE, 101APPLE, etc.) — repeat Select All inside each one.
- In the Windows Photos app, scroll to the very bottom of the import screen first; Select All only applies to photos that have finished loading in the preview.🔗 If you’re planning to do a full iPhone backup — not just photos — check out our guide on How to Backup iPhone to PC for a complete walkthrough.
FAQ: How to Download iPhone Photos to Your PC
How do I upload pictures from my iPhone to my computer?
The easiest way is to connect your iPhone via USB, unlock it, tap “Trust,” then open File Explorer on Windows. Navigate to iPhone > Internal Storage > DCIM and copy your photos to your PC. You can also use the Windows Photos app for a more guided experience.
How do I transfer photos from my iPhone to my PC without a USB cable?
You have two great wireless options: iCloud for Windows (syncs automatically once set up) or Google Photos (backs up your photos and lets you download them on any PC). Both are free for basic use and require no cable at all.
How do I transfer photos from my iPhone to Windows 10 or Windows 11?
The steps are nearly identical on both versions. Connect your iPhone via USB, trust the connection, and use either File Explorer or the Windows Photos app to import your images. Both transfer iPhone photos to Windows 10 and Windows 11 work smoothly this way.
Why can’t I transfer photos from my iPhone to my PC?
The most common reasons are:
–You didn’t tap “Trust” on your iPhone
–The USB cable is charge-only (not a data cable)
–The Apple Devices app isn’t installed on your PC
–Your iPhone photos are stored in iCloud, not on the device
How do I transfer HEIC photos from iPhone to Windows?
Either switch your iPhone camera to JPEG format before shooting (Settings > Camera > Formats > Most Compatible), or install the HEIC Image Extensions from the Microsoft Store to view and open HEIC files directly on Windows without converting them.
Can I transfer photos from iPhone to a USB flash drive?
Yes! Connect your iPhone to your PC using a USB cable, copy the photos to your PC first using File Explorer, then paste them onto your USB flash drive. There’s no direct iPhone-to-USB-drive transfer without a PC in between.
Where do my transferred photos go on my desktop?
By default, File Explorer and the Windows Photos app both save imported pictures into your Pictures folder unless you choose a different destination during import. Most import tools also let you create a new picture folder automatically — for example, a dated folder like “iPhone Import – August 2026” — so your transferred photos don’t mix in with existing files on your desktop.
How do I select all photos on my iPhone to transfer them at once?
In File Explorer, open the DCIM folder from your iPhone and press Ctrl+A to select every photo inside. In the Windows Photos app, click Select All in the top toolbar during import. On the iPhone’s own Photos app, tap Select, then Select All, if you’re sharing photos directly (Method 3 or Method 4’s wireless options).
Can Windows automatically create a new folder for transferred photos?
Yes. The Windows Photos app lets you choose “Import to a new folder” and even auto-names it by date, so every batch of transferred photos from your iPhone stays organized separately on your desktop instead of dumping everything into one new picture folder.
Why are my transferred photos taking up more space on my desktop than expected?
If your iPhone was set to “High Efficiency” format, HEIC photos are usually small — but once converted to JPEG during a photo transfer, file sizes can increase by 20–40%. This is normal and not a sign of a duplicate or corrupted transfer.
Do I need to select all photos every time, or can I set a default?
No — after your first photo transfer, both the Windows Photos app and File Explorer remember your last import folder. You’ll still need to tap Select All each session, since Windows doesn’t auto-select new photos by default (this is intentional, to avoid accidentally re-importing your entire camera roll every time).
What happens if I don’t create a new picture folder before transferring?
If you skip creating a new picture folder, all your transferred photos land in your main Pictures folder on the desktop, mixed in with whatever was already there. It’s a good habit to create a dated folder first (e.g., “iPhone Photos – Aug 2026”) so your transferred photos stay easy to find later.
Are transferred photos automatically deleted from my iPhone after import?
No, by default your iPhone keeps the originals after a photo transfer to your desktop. If you want to free up space, you’ll need to manually delete the photos from your iPhone afterward, or check “Delete original items after import” if your import tool offers that option — use it carefully, since it removes photos from your iPhone the moment the transfer finishes.
Conclusion
Now you know exactly how to transfer photos from iPhone to PC — no stress, no confusion. Whether you prefer a USB cable, a wireless solution like iCloud or Google Photos, or a dedicated app, there’s a method that fits your style.
Our top pick for most users: Use File Explorer with a USB cable for speed and simplicity. If you want wireless convenience, go with iCloud for Windows or Google Photos.
Here are some related guides you might find helpful next:
- 📦 Want to back up your entire iPhone, not just photos? Read our full guide: How to Backup iPhone to PC
- 📱 Upgrading to a new iPhone? Learn How to Transfer iPhone to iPhone without losing anything.
- 🔄 Planning to sell or reset your device? Here’s How to Factory Reset iPhone safely before you do.
If this guide helped you, share it with a friend who’s struggling with the same thing!

